Cross-browser testing on Windows from macOS
 Jon Sakas
This article is part of a three-part series on cross-browser testing Windows, iOS, and Android from macOS.
In this section, we’re going to cover how to set up macOS to run Windows, for the purpose of testing Internet Explorer and Edge browsers. Although its being phased out, Internet Explorer is still the default browser on Windows 10 and therefore will continue to receive support and security updates while Windows 10 is supported. You can read more on that on the Internet Explorer and Edge Lifecycle FAQ
This article was written using the following operating system and software versions:
– macOS Catalina, Version 10.15.7 on a MacBook Pro (Retina, 15-inch, Early 2013)
– VirtualBox 6.1
Download and Install VirtualBox
First, download VirtualBox, a software application that allows you to different operating systems (a “guest”) within your current operating system (the “host”). On their website, they describe virtualization as:
…allows an unmodified operating system with all of its installed software to run in a special environment, on top of your existing operating system. This environment, called a “virtual machine”, is created by the virtualization software by intercepting access to certain hardware components and certain features. The physical computer is then usually called the “host”, while the virtual machine is often called a “guest”. Most of the guest code runs unmodified, directly on the host computer, and the guest operating system “thinks” it’s running on real machine.
VirtualBox wiki on Virtualization – https://www.virtualbox.org/wiki/Virtualization
Once downloaded start the installer. On macOS Catalina you may get a notice that the installation has failed. You may need to grant special privileges to the installer by going to Apple menu > System Preferences > Security & Privacy > General and finding ‘System software from developer “Oracle America, Inc.” was blocked from loading’. Unlock to make changes and click allow. Then restart the installer.

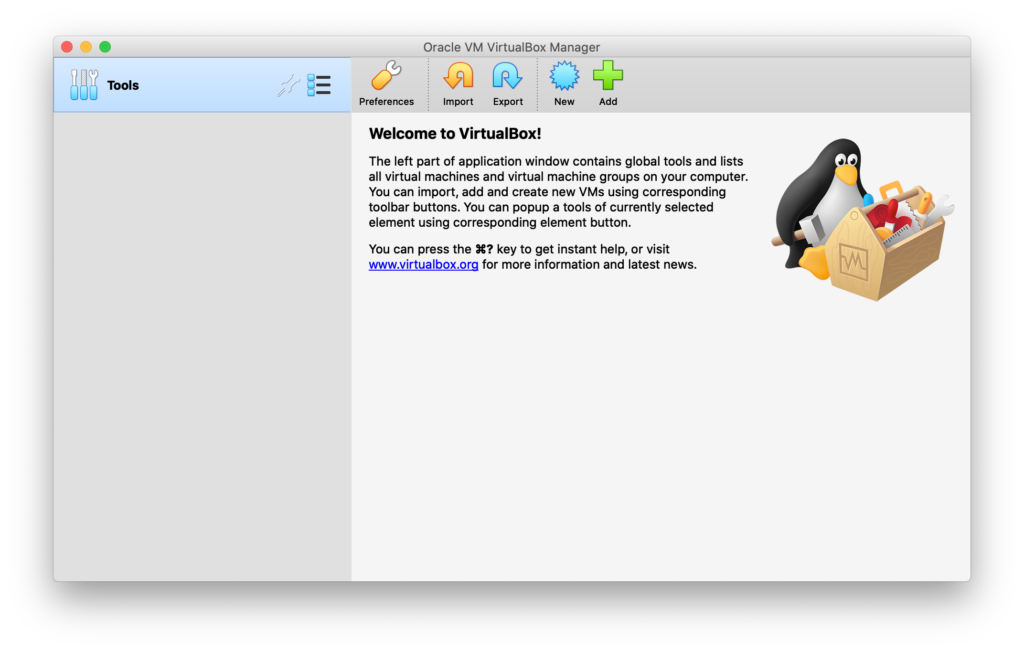
Once installed, you will be able to open the VirtualBox application and you should see the welcome screen.
Create a new Windows 10 Virtual Machine
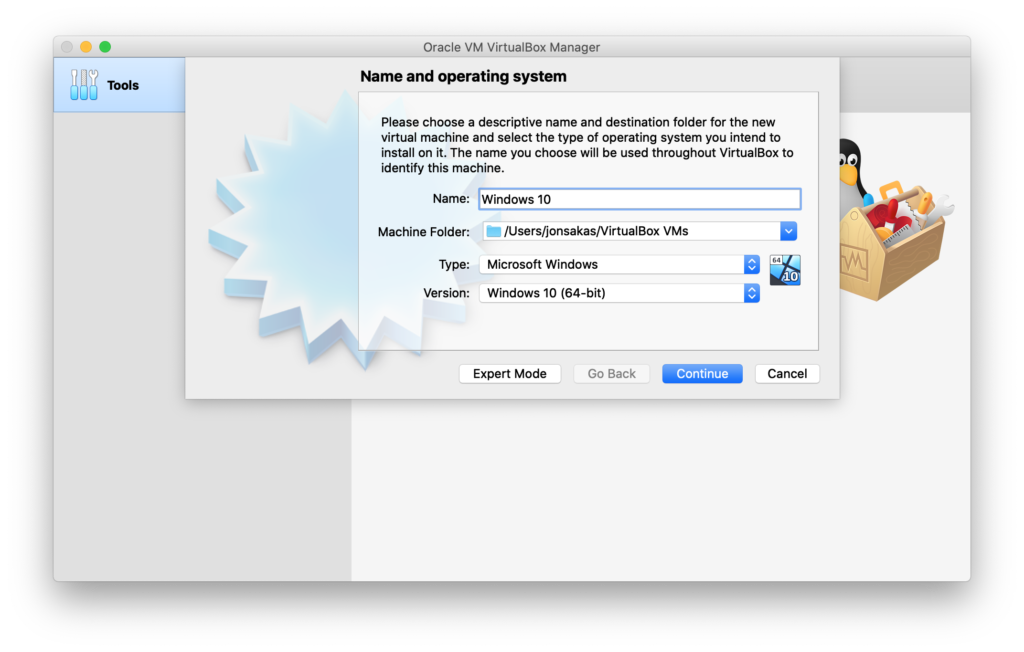
Now that we’ve got VirtualBox downloaded, installed, and open, we’ll create a new Virtual Machine by clicking the green icon for New. Give your Virtual Machine and name and select Windows 10 from the dropdown.
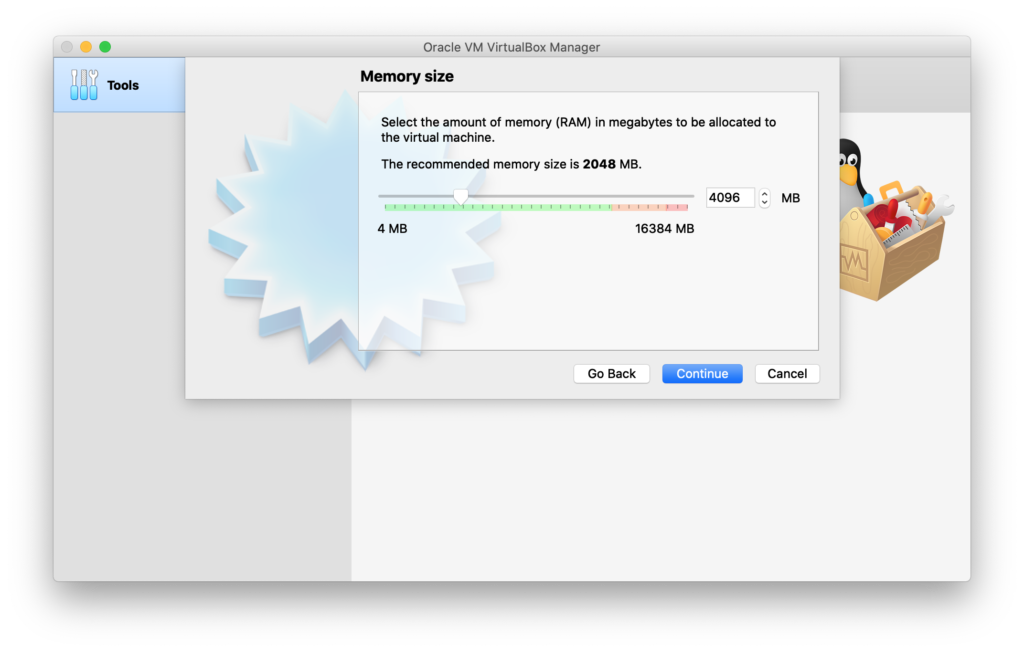
Next, you’ll be asked to select the amount of memory to allocate to the VM. I would recommend at least 4 gigabytes of memory, and even more if you are running on a host machine with more resources available.
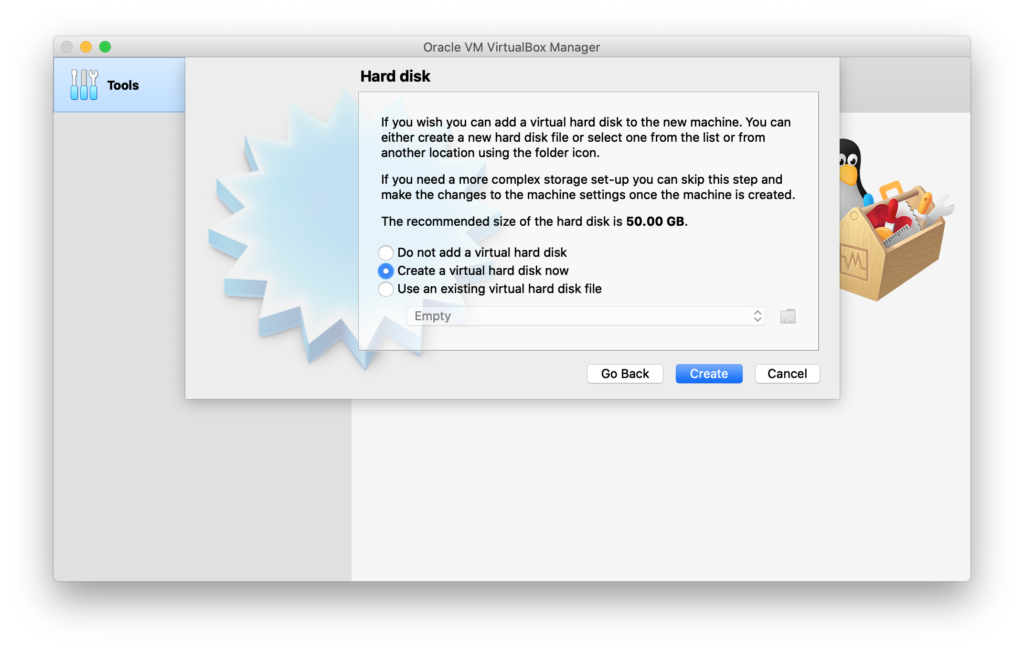
Create a virtual hard disk for your VM, which is the default option:
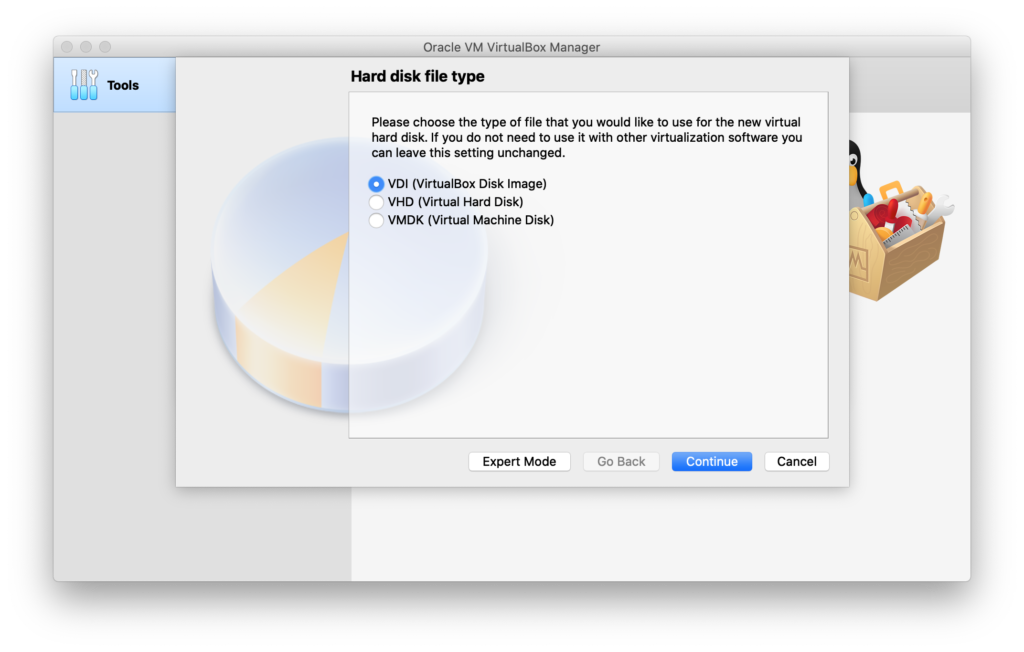
Select the virtual hard disk type of VDI (VirtualBox Disk Image), which is the default option:
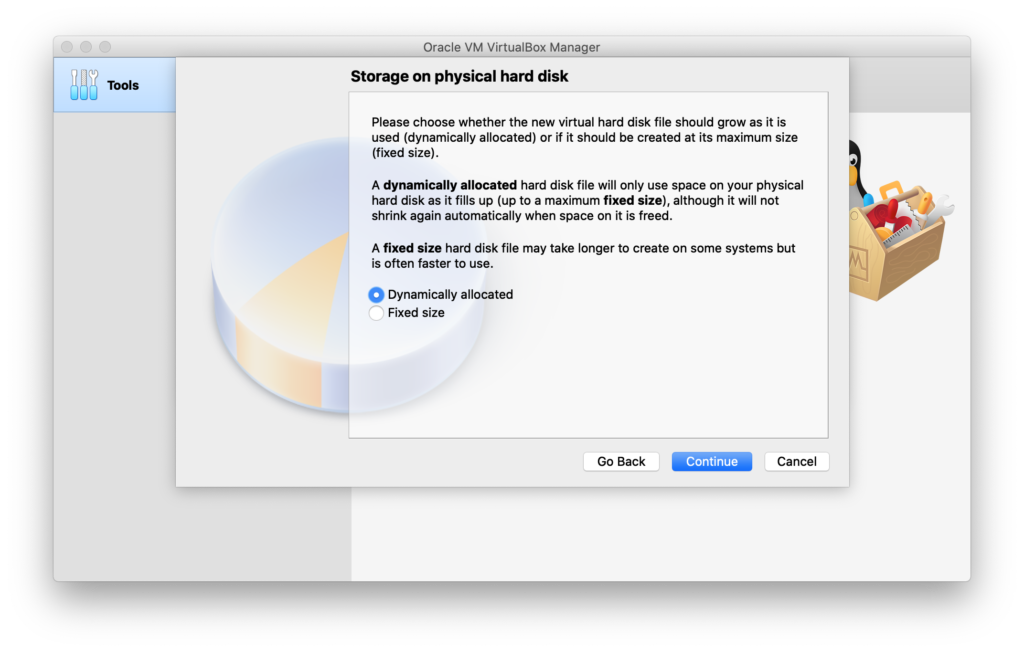
Choose your virtual hard disk size. I recommend Dynamically allocated, which is the default option:
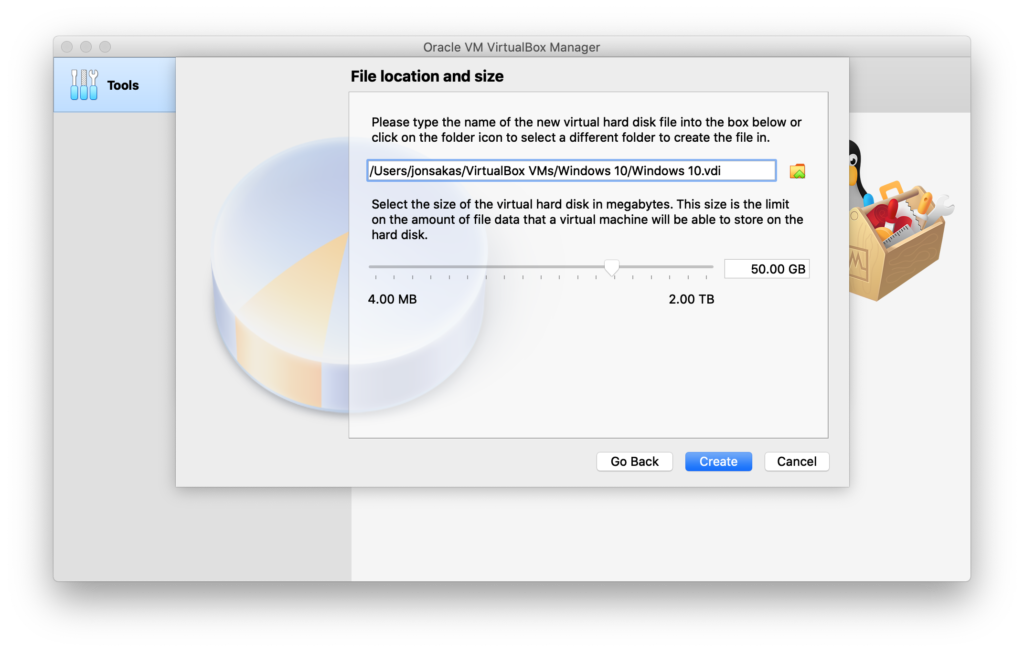
Select the maximum size for your virtual hard disk, and click Create:
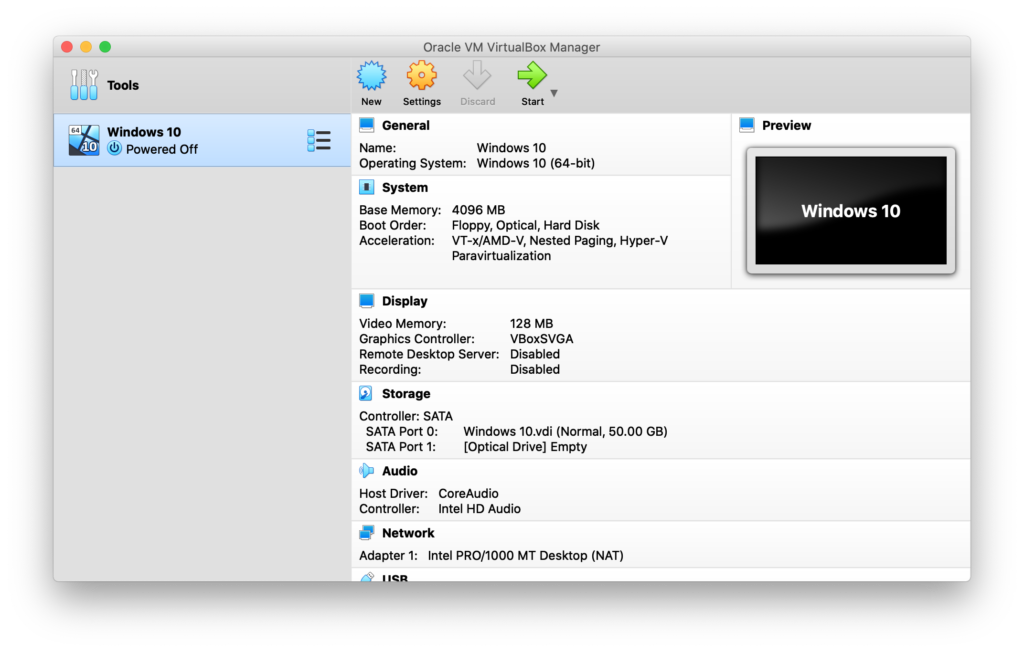
Once created, you will have a new Virtual Machine in the list:
Download Windows 10 Disc Image (ISO File) and install in VirtualBox
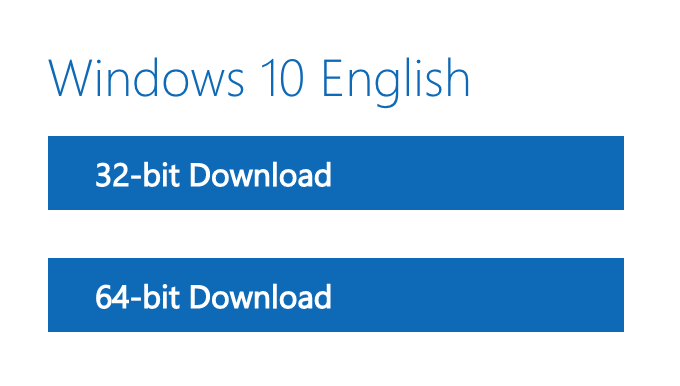
Next, we need our Windows 10 operating system to run using VirtualBox as a Virtual Machine. Start by downloading the Windows 10 ISO which is offered directly from Microsoft’s software download page: https://www.microsoft.com/en-us/software-download/windows10ISO. You’ll be asked to choose an edition and a language, followed by an option to download the 32-bit or 64-bit version. The option that you choose depends on the processor type which can be found by visiting Apple menu > About This Mac. In our case, we are running with a Quad-Core Intel Core i7; so we’ll be using the 64-bit option.
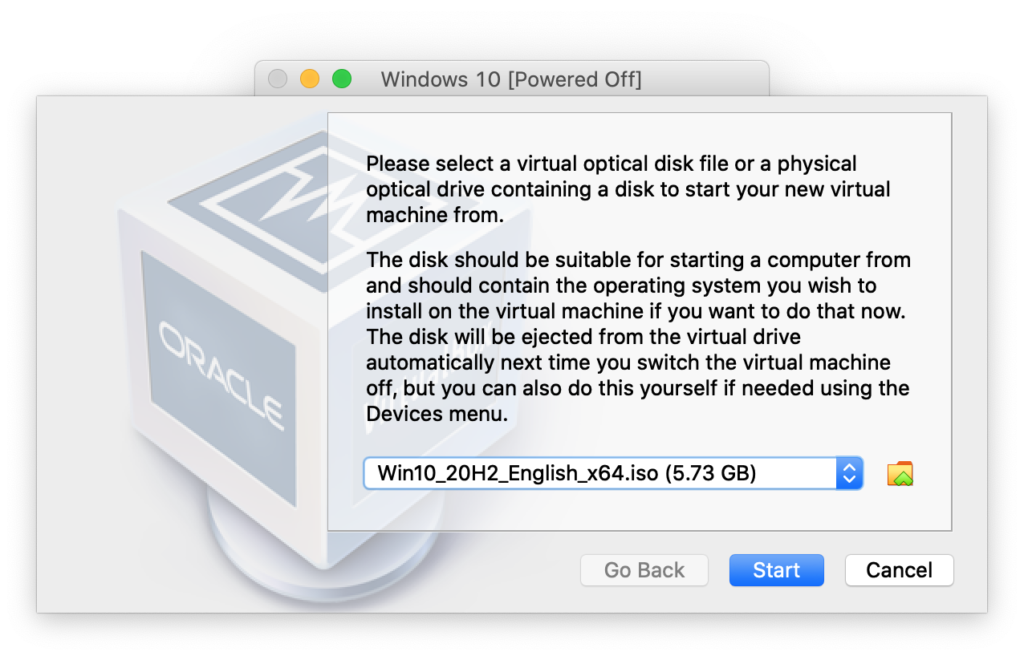
Once the download finishes, head back to VirtualBox and click the green arrow labelled Start. The first time you start the VM it will ask you to select the disk you want to use to boot. We’ll use the finder to select the ISO file we downloaded in the previous step. If for some reason you have cancelled out and re-started, I’ve noticed that VirtualBox won’t ask you for a disk. You can “insert” the disk by going to Devices > Optical Drives > Choose disk file... and searching for the Windows 10 ISO. If you do this, you’ll need to close the window and “Power off the machine”, and then click start again. This time it will boot from disk.
If you find the window to be very small, and resizing has no effect, it may be beneficial to adjust the scaling. We won’t be able to fully scale the resolution to match the host machine until after we’ve installed and configured Windows, which will be covered in a later step. But in the meantime you can right click the Virtual Machine in the list, select Settings, and head to the Display tab. From there you can adjust the Scale Factor setting. 200% is good enough for me to get through the setup until we can properly set the resolution.

Now that we’ve set up our Virtual Machine to use the Windows 10 Disk Image, adjusted the scale so we can read the screen, we just need to start the machine and run through the Windows 10 installation and setup.
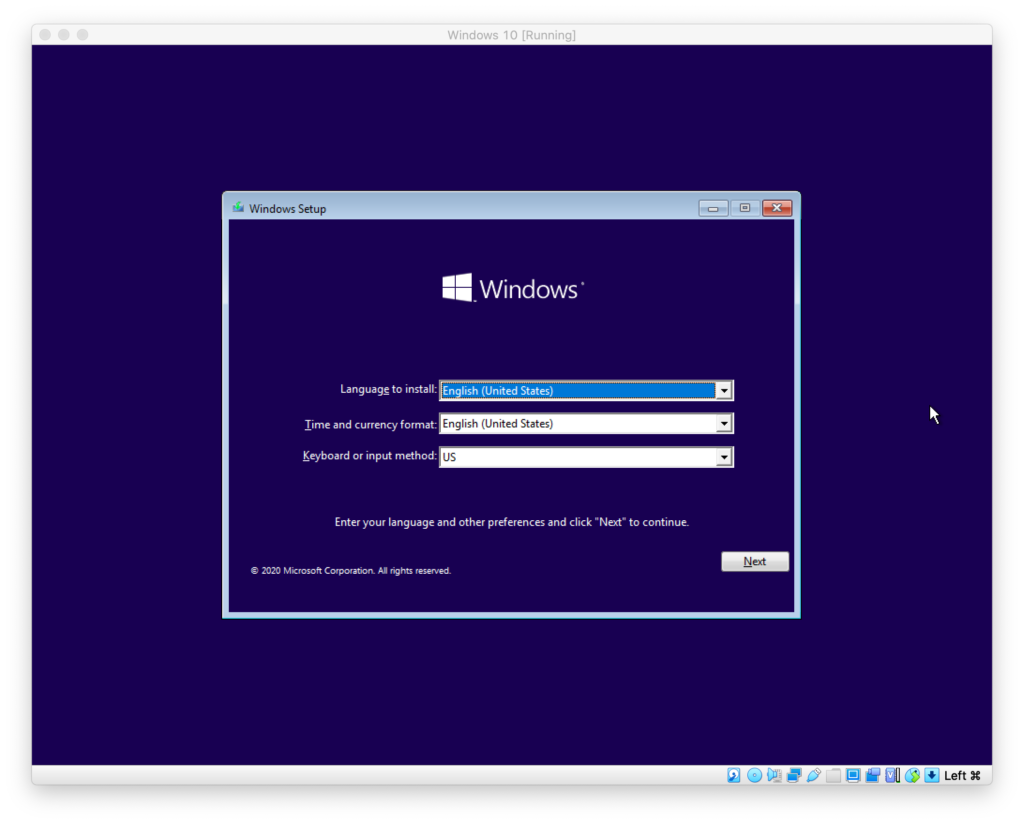
While going through the Windows 10 installation and setup, keep these items in mind:
- If you’re asked to enter a product key, you should be able to select “I don’t have a product key” and continue.
- When prompted which version you would like to install, select “Windows 10 Pro”.
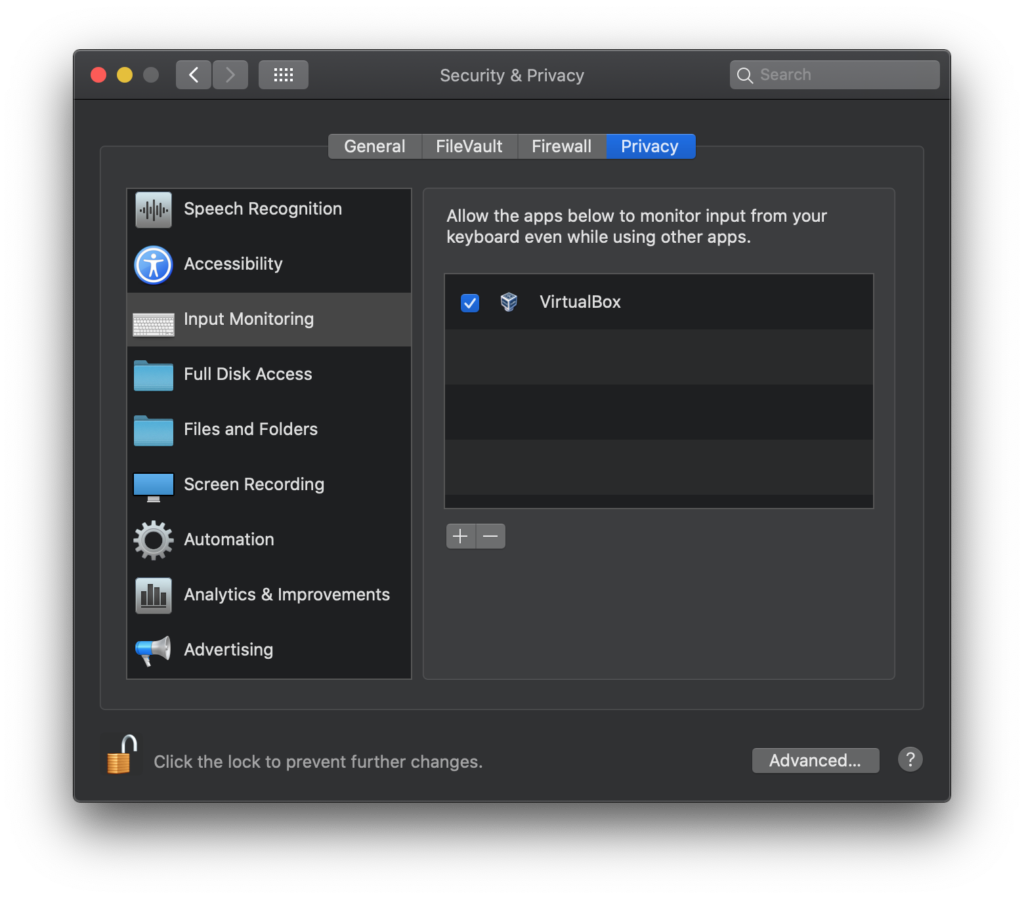
On your mac OS host machine, you may also be asked to give VirtualBox permissions to monitor input from the keyboard. It is recommended to allow this as shown below.
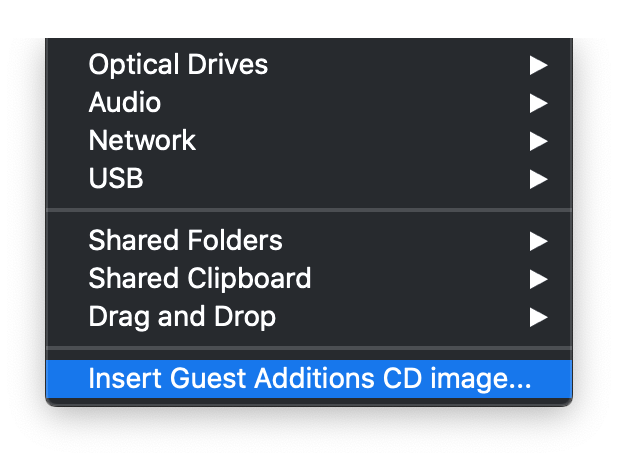
Continue to run through the installation process, creating your user and setting up with your Microsoft account. Once you’re at the Windows 10 desktop, we need to install one more piece of software which is called Guest Additions. This special software provided by VirtualBox creates a better integration between your host computer and the virtual machine guest. It provides things like better support for video, shared clipboard, and more. The full list of guest additions features can be found in the manual: https://www.virtualbox.org/manual/ch04.html
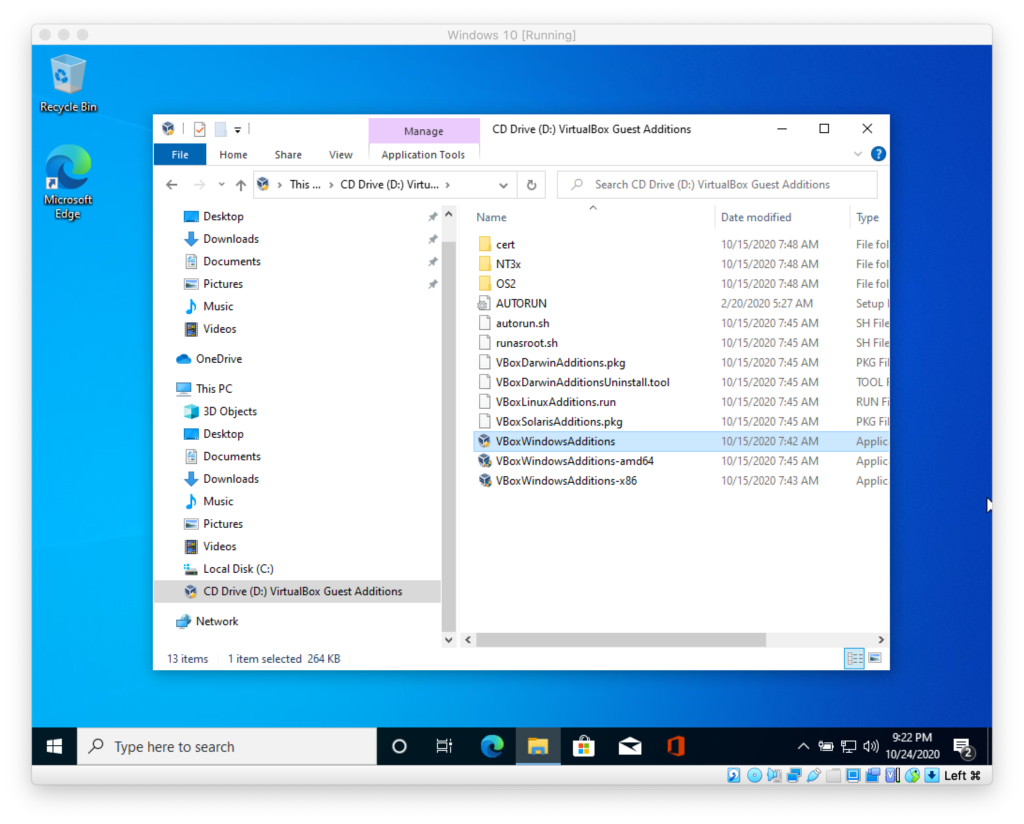
Once the Guest Additions CD image has been insert into the virtual drive, open the File Explorer in Windows 10 and navigate to the CD Drive, which should be labelled with VirtualBox Guest Additions. Double-click VBoxWindowsAdditions, install the software, and then reboot the machine when prompted.
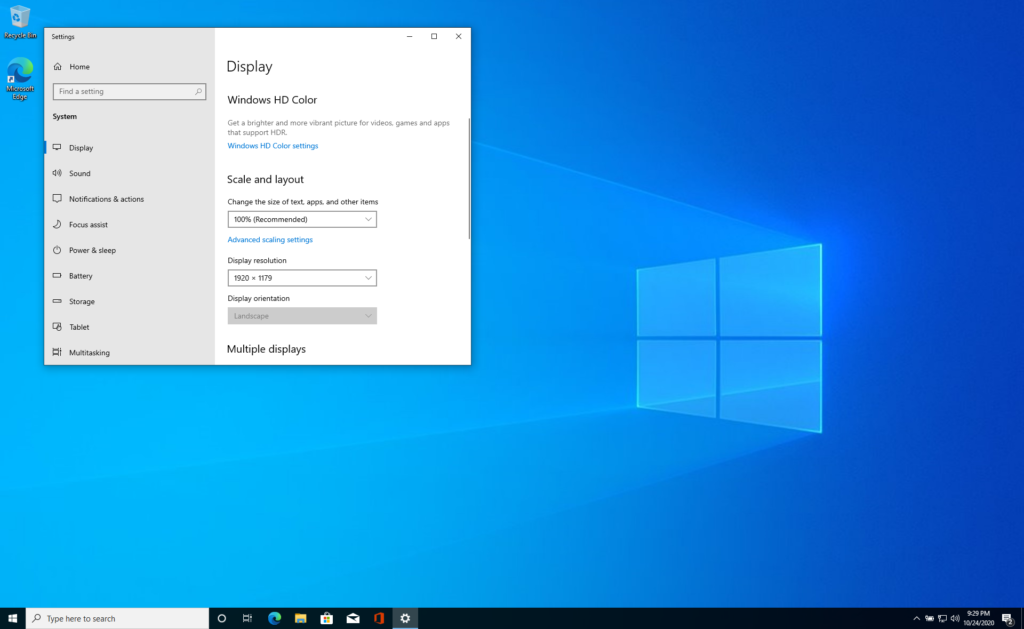
Once Guest Additions has been installed, you should adjust the screen resolution under display settings. Once that is complete you will be able to view the Windows 10 Virtual Machine in full screen and it will appear as if you are running that operating system directly!
Scenario 1: Testing a NodeJS app on the Windows 10 Virtual Machine
Now that we have installed VirtualBox, added our Windows 10 Virtual Machine and adjusted some settings, we can finally begin the process of testing a website being developed with mac OS, on Windows!
Assuming you already have NodeJS installed on your Mac OS host, install npx:
npm install -g npx
Once NPX is installed, create and run a NextJS app for demonstration:
npx create-next-app my-app
cd my-app
npm run dev
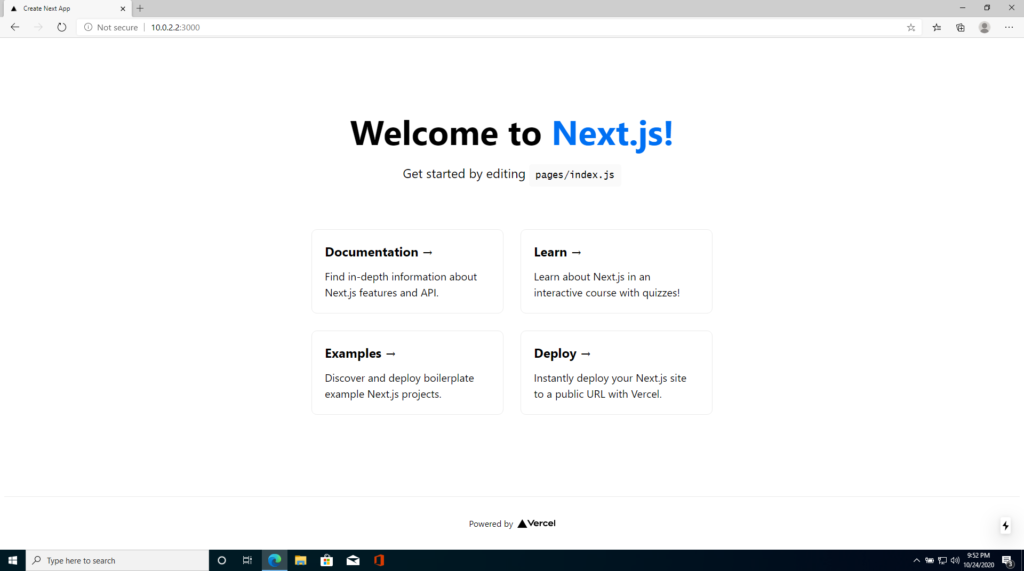
As expected, you will now have a basic NextJS app running on http://localhost:3000.
You can now head into your already running Virtual Machine and access this website on http://10.0.2.2:3000.
Scenario 2: Testing WordPress and working around site_url absolute path problem
If you’re developing with WordPress, you might find an issue you encounter is that the Site URL setting cannot be the same on the guest and the host. We found in the previous section that when your website is running on, for example, http://0.0.0.0:8000, you can access that website on http://10.0.2.2:8000. When developing WordPress, however, you will find any URLs found in the HTML document are absolute and are set to the site URL which is likely the host machine’s localhost. Because localhost on the guest and host mean different things, all of these external assets will not be found.
One work around would be to update the Site URL in the WordPress admin to match that of the guest machine, 10.0.2.2:8000, which will work when you access the site on the guest, but will break when you try to then access the site on the host machine.
A second work around, which will allow you to access the website on both the host and guest, is to implement a simple plugin that updates any absolute URLs that are generated to match the address of the incoming HTTP request. I would like to also note that this is probably best used for development only, and kept out of your live websites.
/**
 * Plugin Name: Fix Localhost Plugin
 * Description: Not for production use! Overrides URL construction found in link-template.php to match requesting host.
 */

function unparse_url($parsed_url) {
    $scheme   = isset($parsed_url['scheme']) ? $parsed_url['scheme'] . '://' : '';
    $host     = isset($parsed_url['host']) ? $parsed_url['host'] : '';
    $port     = isset($parsed_url['port']) ? ':' . $parsed_url['port'] : '';
    $user     = isset($parsed_url['user']) ? $parsed_url['user'] : '';
    $pass     = isset($parsed_url['pass']) ? ':' . $parsed_url['pass']  : '';
    $pass     = ($user || $pass) ? "$pass@" : '';
    $path     = isset($parsed_url['path']) ? $parsed_url['path'] : '';
    $query    = isset($parsed_url['query']) ? '?' . $parsed_url['query'] : '';
    $fragment = isset($parsed_url['fragment']) ? '#' . $parsed_url['fragment'] : '';

    return "$scheme$user$pass$host$port$path$query$fragment";
}

function replace_host_url ($url) {
    $parsed_http_host = parse_url($_SERVER['HTTP_HOST']);
    $parsed_input_url = parse_url($url);
    $parsed_input_url['host'] = $parsed_http_host['host'];
    $parsed_input_url['port'] = $parsed_http_host['port'];

    $ret = unparse_url($parsed_input_url);

    return $ret;
}

add_filter('content_url', 'replace_host_url', 9999, 1);
add_filter('site_url', 'replace_host_url', 9999, 1);
add_filter('home_url', 'replace_host_url', 9999, 1);